preparation is key
Before you Begin
1. Repair
First, make sure your wall is as smooth as possible. Patch any holes and fix any obviously damaged surfaces.
2. Remove
Remove any picture frames, hooks, light fixtures, switch plates, or anything else that could obstruct your installation.
3. Clean
Wipe your wall with a dry cloth to remove as much dust and dirt as possible.
To thoroughly clean, use Isopropyl alcohol to wipe down your wall with a clean cloth.
Prep
Lastly, allow your peel & stick products to lay flat for about an hour before installing. This allows them to unroll and hang naturally and come to room temperature.
First, make sure your wall is as smooth as possible. Patch any holes and fix any obviously damaged surfaces.
Remove any picture frames, hooks, light fixtures, switch plates, or anything else that could obstruct your installation.
Wipe your wall with a dry cloth to remove as much dust and dirt as possible.
To thoroughly clean, use Isopropyl alcohol to wipe down your wall with a clean cloth.
Lastly, allow your peel & stick products to lay flat for about an hour before installing. This allows them to unroll and hang naturally and come to room temperature.
Peel and Stick wallpaper
How to Install
1. Peel
Lay your first-panel print side down. Peel back the top 6”-10” of the liner and make a crease.
2. Stick
Holding the corners of the exposed adhesive, align along your desired starting point (typically along the ceiling line).
3. Smooth
Use your smoothing tool to apply the centre of the panel to the wall. Smooth from the middle to the edges with good pressure. Peel back more liner and repeat until done!
4. Trim
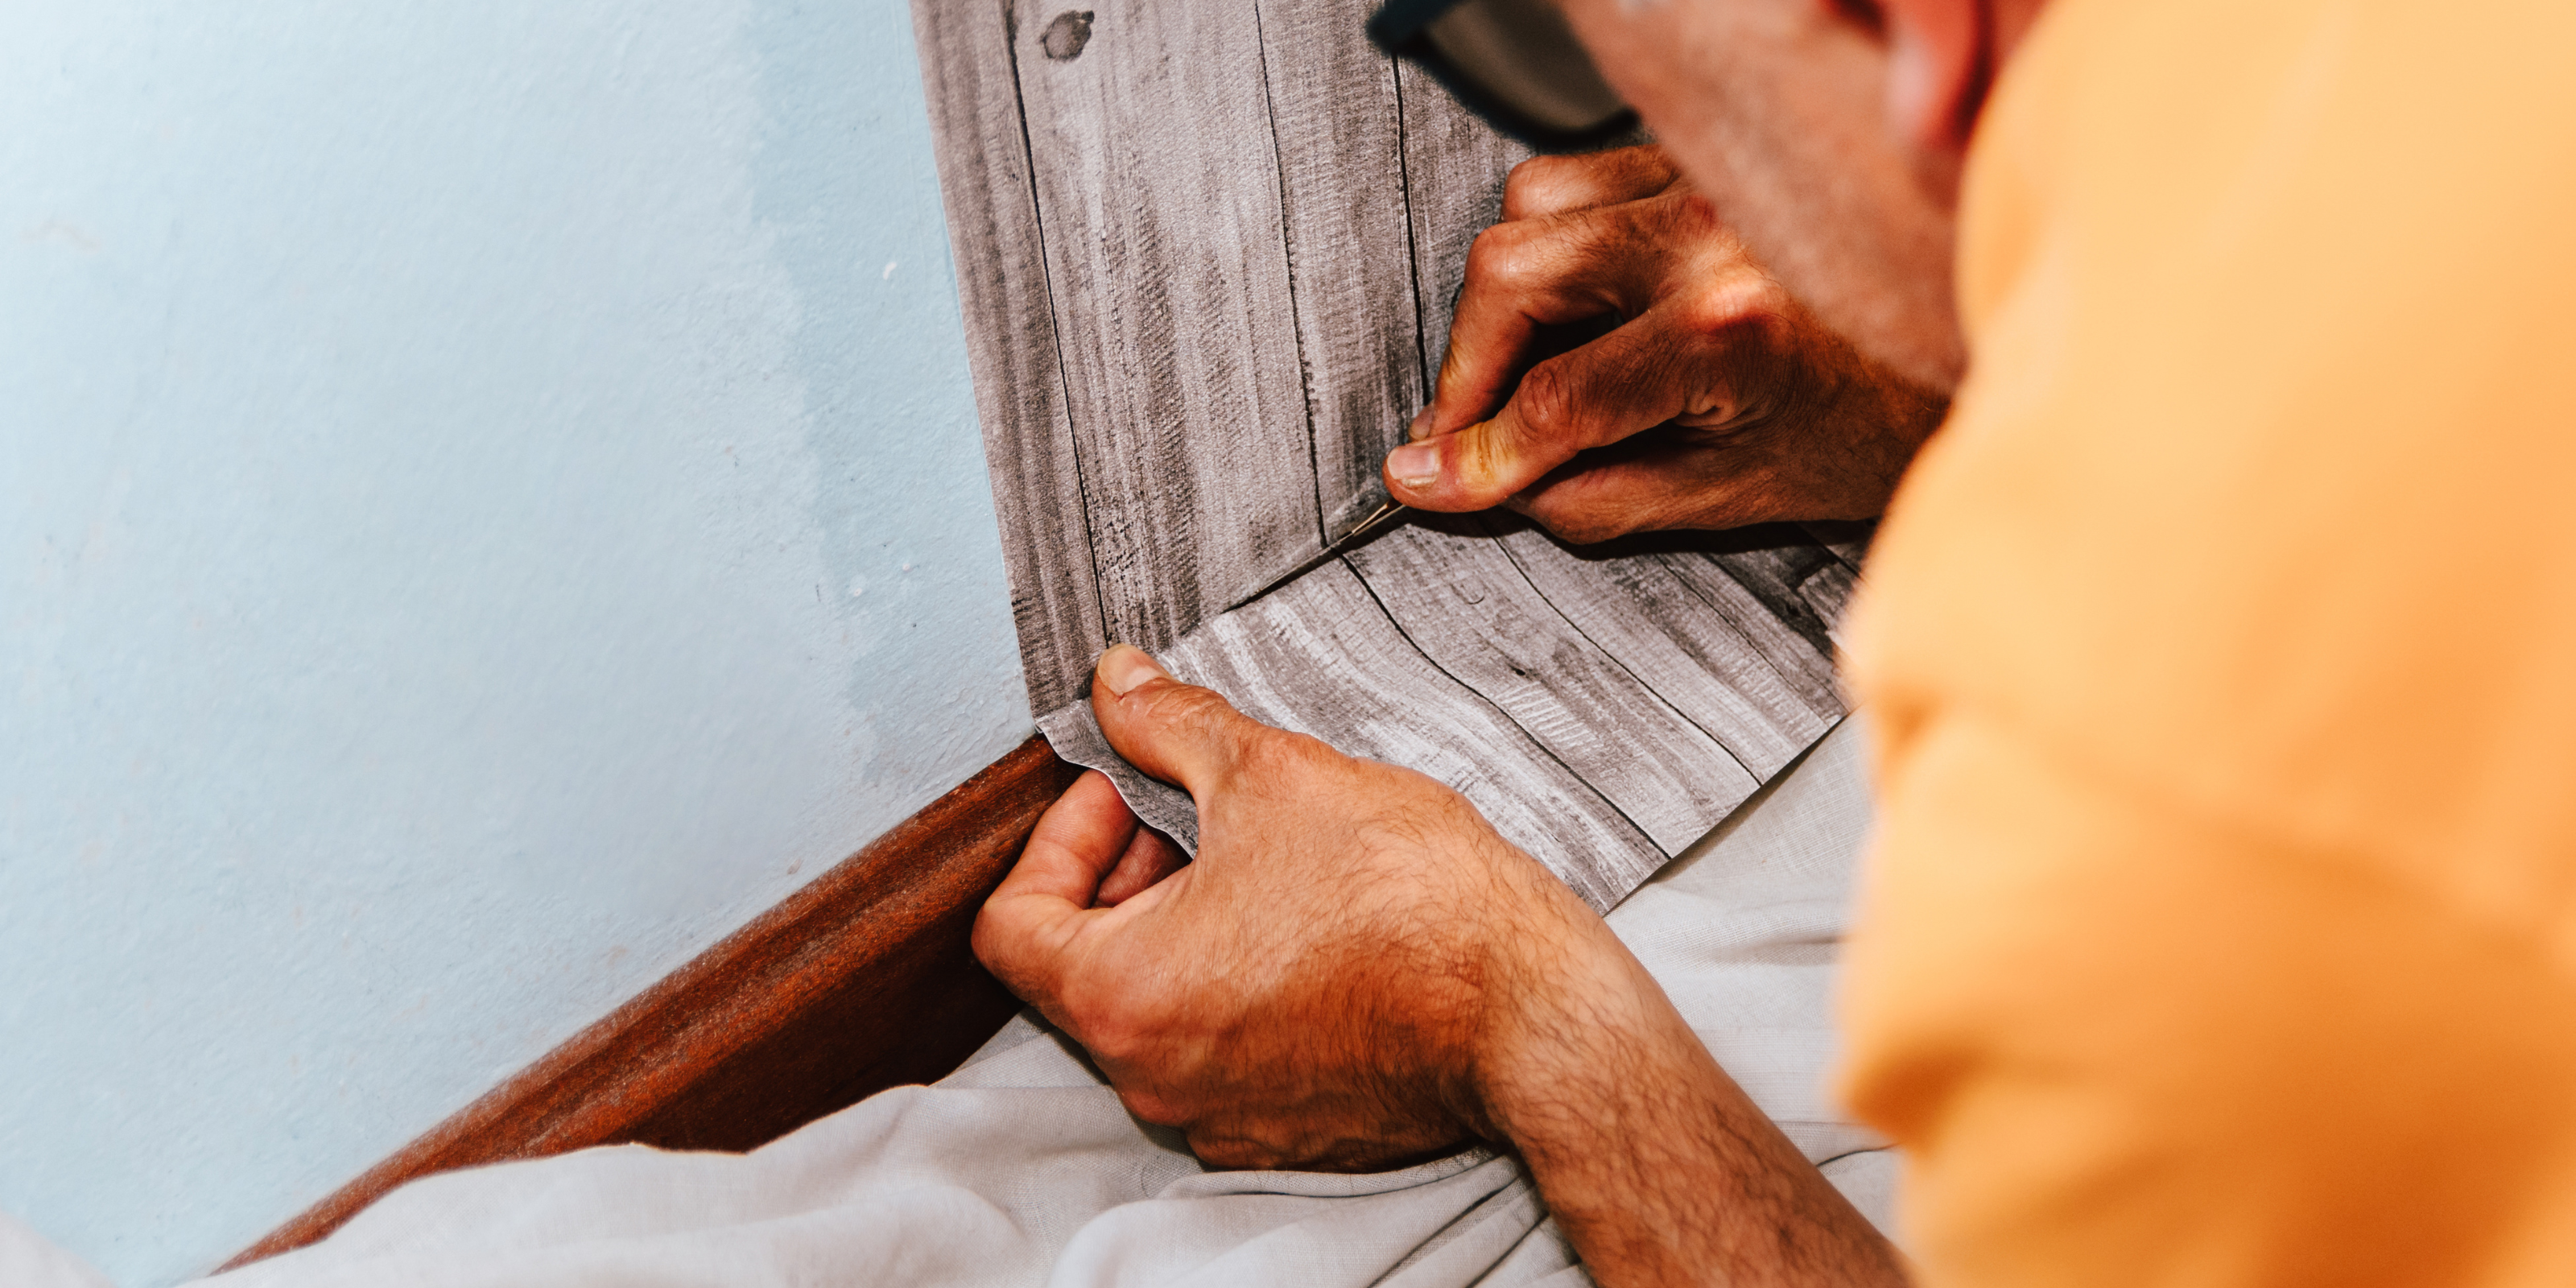
Once you've applied the whole panel, use your blade to trim any extra material. Use your squeegee to smooth the edge.
Removing Wallcoverings
Our material is simple to remove. Just start in a corner and slowly peel down and away. It is easiest to peel one side towards the centre and then peel the next side. Repeat until removed.
If you plan to reapply the material, try to prevent it from sticking to itself. Gently peel the two sides apart if the adhesive adheres to itself.
Tips and Tricks
Turn off all electrical components from the fuse box when cutting around light switches, fans, sockets, etc.
Use sharp OLFA blades with a utility knife and a safety ruler for cutting seams and around outlets. Cut on a
hard, smooth surface.
After the top of the graphic is appied to the wall, smooth it against the surface using gentle pressure with
the soft side of the squeegee. Go over the graphic again with the squeegee, reapplying heavier pressure.
Don’t press too hard or you may mar the surface of the print. Apply enough pressure to ensure a good bond
between the adhesive and the application surface.
After installation, check for air pockets and apply gentle pressure to release pocket and ensure bond.


